Showing posts with label archival ink. Show all posts

Friday, June 1, 2012

A "3D Matchbook ATC"!

Continuing along with my Matchbook design..... I've made this now in several different sizes.

Today, I am showing an ATC matchbook. What I love about this, not only do you have the constraints of the 2.5x3.5" facia, but a long thin inside to work!!!
Don't get me wrong. I do love the 'challenge of the 2.5 x 3.5" space. But let's face it peeps, WE'VE GOT STUFF and LOTS of it! According to my calculations, we'd have to make about a GA-ZILLION ATC's to use it all up!!!


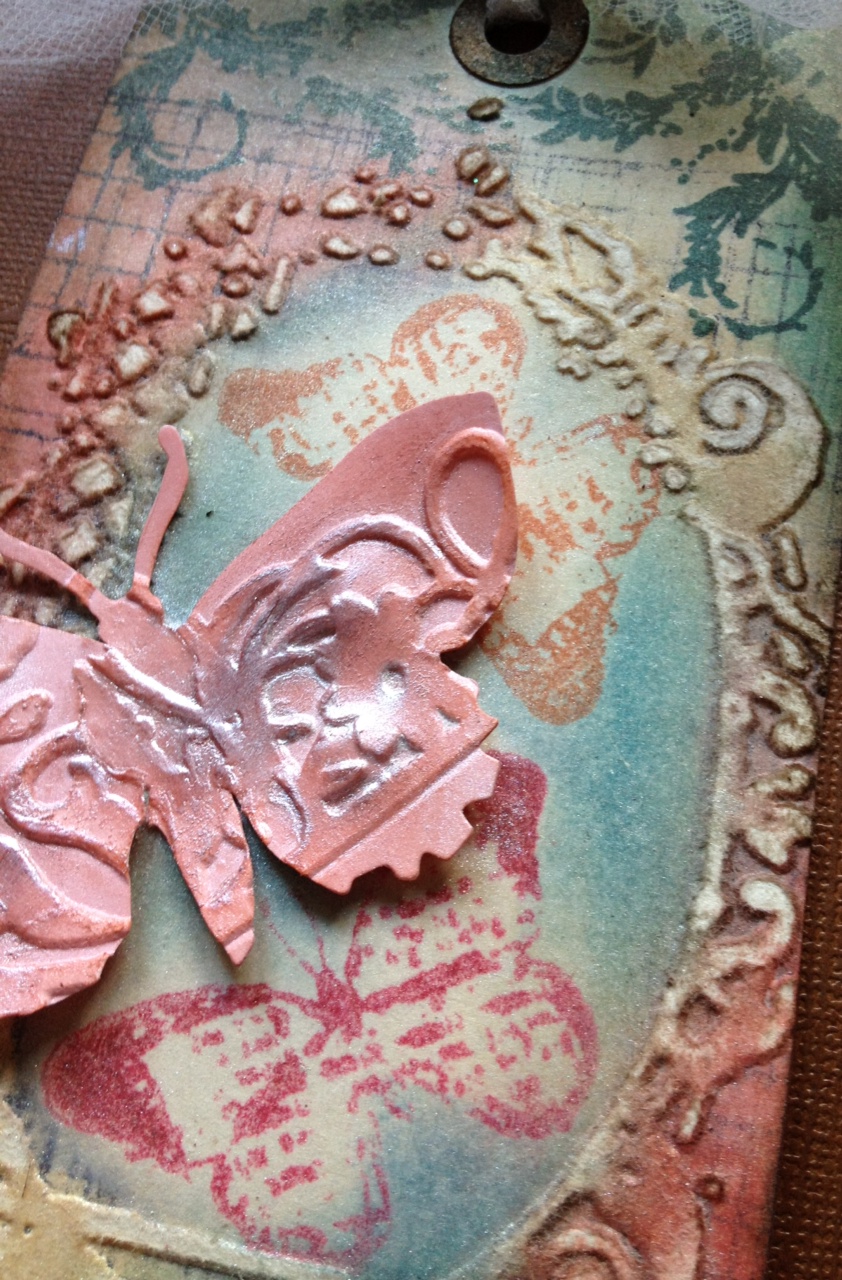
I like to think of this design as 3D ATC Art. 95% of the stamps used are from Artistic Outpost. http://www.artisticoutpost.com/
I used both the LONDON CALLING & LONDON ELEMENTS sets.


The flag is leftover linen cut from the PENANNT Alterations Die. Have I mentioned how much I LOVE that die before???


And here's the INSIDER view! MORE THAN twice the ATC fun here!!!


Big enough to use the Hot Air Balloon from Tim's Remnants Set (CMS130). I trimmed it so separate at the matchbooks score line.

Added at the top, MORE linen Pennant flags!


For this piece, other than what's lised above, I used Cor-dinations cardstock, Archival Ink, Distress Ink, Distress Stain, Tissue Wrap and Pigment Markers.

AND because it's a 3D ATC, still plenty of ROOM to complete the backside with trading card information!


It's a cool design yes? Interested in a class? I think so!!!!


- Posted using BlogPress from my IPhone (never mind the typos).....

Thursday, May 31, 2012

Red, White & Blue Card

The COTM theme for JUNE @ WI Stampers is R, W & B.

I wanted to keep it simple & clean for a change. BELIEVE me this was harder for me than it looks. I wanted to add a collage image of a woman, but restrained myself....


The main stamps are from a set called bags of bunting by Dylusions for Ranger. Stamped in Crimson & Ultramarine Archival ink.


I stamped the 'stripes' using a stamp from the Americana Silhouette set by Tim Holtz.

OOOHHHH, and the "calligraphy", all mine (wink).

Monday, May 28, 2012

Honor tag

This tag features dies cut from T!M's Alterations die Old Glory & the Rosette strip die. The word FREEDOM, and the background words & stars are from the Americana Silhouettes stamp set.


Them main image & word HERO is from the HEROS set by Artistic OutPost.

I used Distress Inks & Archival Ink to stamp and alter the background of this tag.


- Posted using BlogPress from my iPhone

Friday, May 11, 2012

Do more of what makes you happy...

A TAG!!!!
For my friend from the south.
He's a stalker....


This is "Twinkie" from Stampotique. LOVE THESE STAMPS! They are soooo fun to work with!
He's colored in with Copics.


There's a lot going on here. Circles template from The Crafters Workshop,  word quotes from Wendy Vecchi Studio 490 line (Art School, Essence of Home) and Artistic Outpost's Typeography set, Stampotique, Circles from Stamp Diva ....


Oh and of course some Tim Holtz...
The Admit One stamp and the new Spring Distress Inks!


It's nice to RAK a friend!!!


- Posted using BlogPress from my iPhone

Thursday, May 10, 2012

Tag for a teacher

Well she's an artiste now! My friend Maggi stopped by to unload my home of her order, and I was inspired to work on this tag for her.

It uses Stamps from both Wendy Vecchi and Dylusions. Washi from Cavallini, and Tim's Ticket stamp & Alterations Strip die.

The background is done using Distress Ink. I also stamped one of the new background stamps from Tim & Stampers Anonymous. I really love that stamp lately!!!


Instead of using the Dylusions stencil, I used the Dylusions Stencil Alphabet stamp!


The pencil sharpener is stamped onto the Ranger Metal foil so it's all shinny & bright! Wendy sure has some awesome stamp sets!
And I carry them at Red Rubber, Paper and Ink!

Friday, May 4, 2012

LONDON CALLING...


MY NEW STAMPS ARRIVED! And I almost always need to stamp virgin rubber!
AND since Artistic Outpost has TRAVEL as their MAY referral program theme, 
well I knew I HAD to play!

This set is called London Underground. All the stamps used are from this set EXCEPT the letters for the word TEA, which are from the Secretary's Pool set. I LOVE this set! It has a cool typewriter, phone, pencils, and this amazingly PERFECT stencil letter set. OK, one thing, it's missing a Q (which I discovered when wanting to spell Queen), but it does have to S's...


These stamps are just MADE for Distress Ink.I just know it! I used it to do a little watercoloring using Vintage Photo, Scattered Straw, Festive Berries & Faded Jeans. I even dyed the ribbon with Faded Jeans to match.
Main images are stamped with Jet Black & Crimson Archival.


I added some cool ephemera with the watch gears and some of T!M's Idea-ology using Tissue Tape, the Tassle & crown!

Posted using BlogPress from my iPhone

Thursday, May 3, 2012

Cards for a fancy fold swap

Once again, I am using the tri-flap, tri-flag, tri-something (?) fold I used in an earlier post. The directions are given, a couple posts down (look down there.... V).
It's really very simple.
This time, I did a 'simpler' design. OK, simpler for me! I do tend to 'collage'..... So the number of 'elements was limited here!


These are just examples of 3 of the ones I made for the swap on the Wisconsin Stamping Group!

The kimono is a Judikins stamp that I have had for well over a decade and still love. It's stamped with Archival ink in Mandarin &/or Yellow Ochre, dusted with Perfect Pearls Perfect Pearls & misted with water to 'set'. I inked the edge with Distress ink in Vintage Photo to give it a finished look and some tonal variation .

The Asian paper is origami paper.

- Posted using BlogPress from my iPhone

Monday, April 30, 2012

Newspaper boy "read all about it!"

This is such a cool design for a card. I've blogged the base design before. I made a card for T!M's birthday with it.

This card uses Stampers Anonymous Cling Mount Stamp sets from both T!M and Wendy Vecchi. Distress Stain, Archival Ink, Idea-ology, and my own doodling on paper! AND of course, the new Commute Tissue Tape! (I have to admit, I really got it bad for Washi/tissue tapes).

The base is 5.25" x 12".
Score the card at 2", 4", 8", 10"
This gives you the basic z fold of both the right & left panel

The "flags" for the front are cut from a 4" x 5.25" panel.
Using a large background stamp or design, you'll want to stamp the panel & do any coloring.
THEN cut it into three 4" x 1.75" "strips".


When the card is closed, as above, it appears as a normal card front. OK, normal is 'relative'...


I used pop dots to raise the boy up to add dimension.  
AND PEEPS, don't do as I did and put one behind the boys head. That panel moves away from the middle panel... Just a little friendly advice...


See what I mean? This shows the card beginning to slide open...


Are you starting to see how cool this can be??


This is a top view, which will help you 'visualize' the double Z.


This a view of the left side. A strip/flag is attached to the top & bottom. On the right side of the card, the strip/flag is attached to the middle.


If you have questions, contact me. It's really a design that can be used in SO many different ways! A neat way to work with a large busy stamp, or like I did, collage a card!
 

- Posted using BlogPress from my iPhone

Wednesday, March 21, 2012

Creative Chemistry Day 3

This was part of the Day 3 class. The technique is ARCHIVAL RESIST done on glossy paper.

I did lightly wipe some of the Vintage Photo Distress Ink off, with a slightly damp towel as I had stamped the chicken wire with Mustard Archival and wanted it to show more.
Rather than mount it to a black tag, I covered my tag with a vintage dress pattern paper. I added vintage seam binding, and seamstress pins and vintage buttons to finish it off.
Nobody likes a nekid tag!


I just love the dress form line!!!


This is done using the 'Reflection Stamping' technique. I didn't use a reflection stamp. I'm to hung up on the Mixed Media set!
I also used colored ARCHIVAL for the butterflies, and afterwards, used library green to stamp the vine-age on the top. I also cut and embossed the butterfly from the new Tim chocolate bunny BIGZ die set. This gave added depth I wanted the tag to have. The scrap at the bottom is from the Lace Border Decorative strip die. Love those! I also sanded off the raised, embossed area to make the detail of the shape pop. Guess I am, once again not following all the rules. I also oversprayed the tag with Biscotti Perfect Mist....


- Posted using BlogPress from my iPhone

Sunday, November 27, 2011

Tag masking


This was done using a mask over the focal image.


This allowed me to ink around the image, and preserve the manilla color of the tag underneath the image. Also a small area around the image.

I stamped the main image with Jet Black Archival ink and heat set it.

I stamped & cut a second image from scrap paper to use as my mask.

The image is from Tim Holtz, one of the Christmas Mini Cling mount sets.
Using Distress Inks in Broken China, Faded Jeans and Vintage Photo, I inked the background. Snowflake Stamps were used to add some detail to the background. All the while, the 'mask' is over the main image to avoid inking over it.

Masking is not new.
It's been around for AGES. We just 'forget' to do it!

The image was accented with Enamel Inks by Ranger in black & white, and Distress inks in Festive Berries and Peeled Paint.

An easy, quick and fun project!